Wow! Between Subscribe and Save, additional coupon, and extra offer, this makes for a great deal! Check it out!
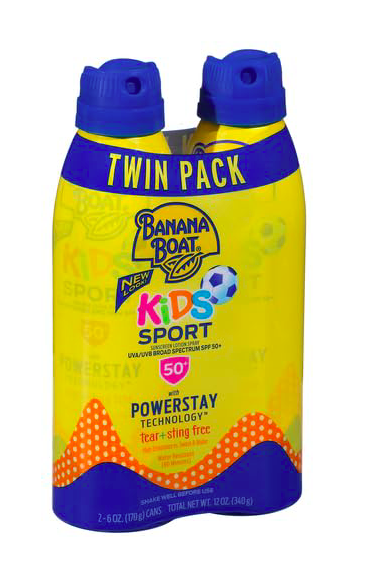
- Kids Banana Boat Sunscreen 2 packs – $13.97 each
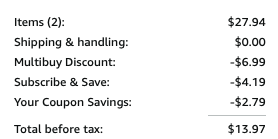
- Click the 20% off coupon
- Add 2 to your cart using subscribe and save.
- Receive Buy 1 Get 1 50% off at checkout!
- Final Cost – As low as $13.97! Works out to be just $3.49 per bottle!!
https://amzn.to/3vUr5hd