Mommy Octopus

We can all use a few more hands

  • Giveaways
  • Travel
  • Recipes
  • Disney World Tips
  • Homeschool
  • Law Enforcement Support
  • PR Inquiries
  • Contact Me
  • About Me

How to Make a Simple Outdoor Tic Tac Toe Game

September 4, 2016 By MommyOctopus Leave a Comment
By clicking my links, I may earn a small commission to support this blog. Please see our Disclosure Policy.

Simple Outdoor Tic Tac Toe Game

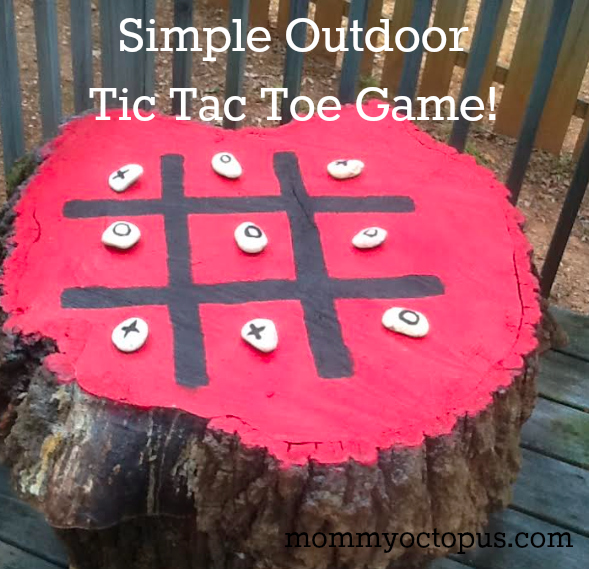
My kids love playing outside and I’m always looking for fun activities to keep them engaged.  A year or so ago, we had some giant trees taken down in the yard, which  left behind some huge and gorgeous logs and stumps.  These stumps were just begging to be put to use!  We decided to use the stumps and make some fun outdoor games for the kids to enjoy!  First up, see how we made an outdoor Tic Tac Toe game!  If you have paint on hand, this game won’t cost you anything.

Screen Shot 2016-09-04 at 3.46.36 PM

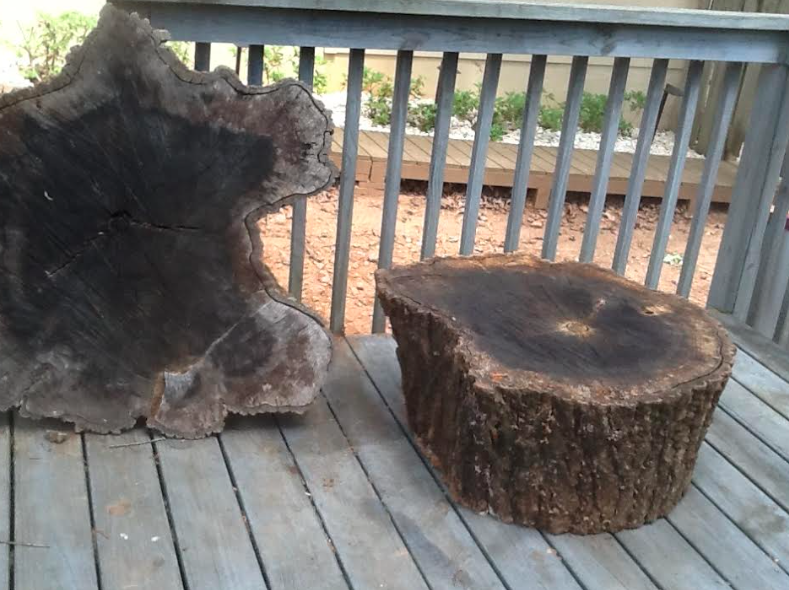
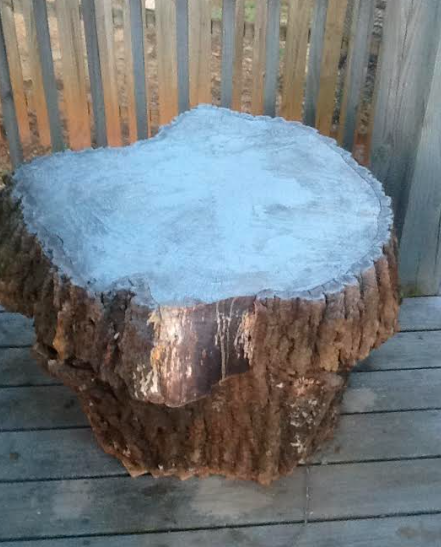
First off, if there are any cracks, fill them in with wood putty and allow to dry.  We started the project off by priming the top of the stump.  This step is quite easy and takes just a few moments.  A nice thin coat is just what is needed.

Screen Shot 2016-09-04 at 3.47.34 PM

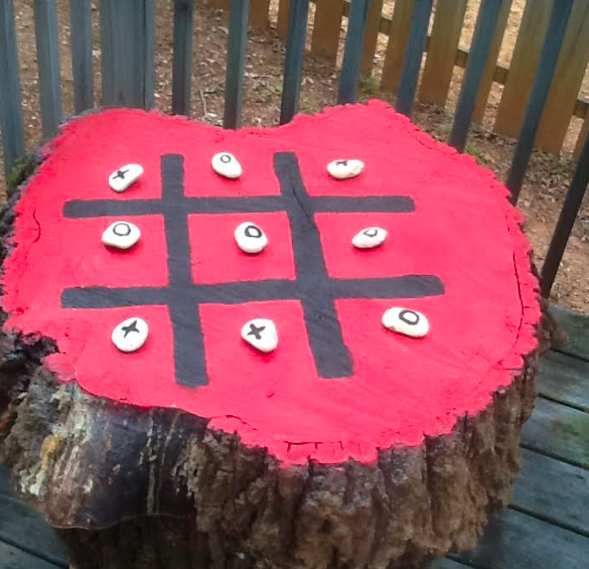
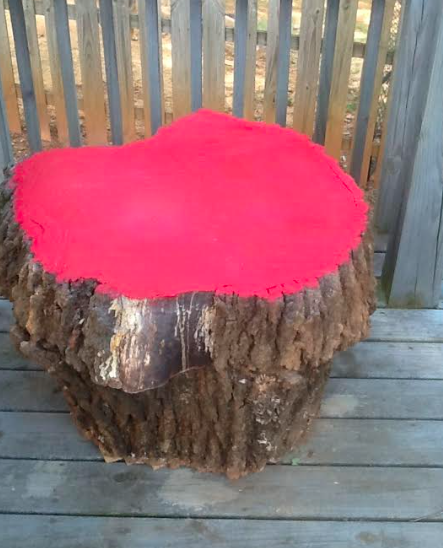
Next, select your base color.  A nice bright red was chosen here.

Screen Shot 2016-09-04 at 3.49.08 PM

At this point, you just need black paint, a paint brush, and a ruler.  I recommend mapping it out and planning in pencil and then covering the pencil marks with your black paint.  It’s fairly easy with a steady hand.

Screen Shot 2016-09-04 at 3.49.15 PM

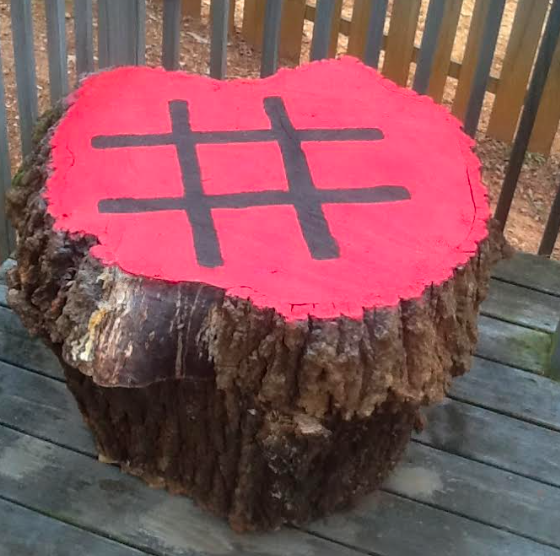
Next, simply gather some stones and paint X’s and O’s on top of them and then you are set for an inexpensive and fun outdoor game!  Enjoy!

Screen Shot 2016-09-04 at 3.49.22 PM

Organize Children’s Art with Repurposed Curtain Rod

April 23, 2014 By MommyOctopus Leave a Comment
By clicking my links, I may earn a small commission to support this blog. Please see our Disclosure Policy.

Repurpose Curtain Rod into Children's Art Organizer

A year or so ago, my husband let me get new curtain rods and curtains in our old house.  When we moved, I was very sad because my large curtain rod that I loved didn’t have a home.  We put it to the side until we came up with a use for it.   I know eventually it would be put back to use!

In this house we have had a major problem with art projects.  With four kids, that’s four times the art and it’s everywhere!  We decided we’d use our old curtain rod to organize it!  My husband installed it right on the wall in our dining room, which is also where we do school.

We bought these Drapery Clip Rings to hang on the rod and use to clip our art projects.  I love the end result!  We now have plenty of hanging space and I love seeing my children’s treasured art hanging up together.

Repurpose Curtain Rod into Art Organizer

Our Re-Purposed Dresser – Now Bookshelf!

June 13, 2012 By MommyOctopus 3 Comments
By clicking my links, I may earn a small commission to support this blog. Please see our Disclosure Policy.

I had posted on the Mommy Octopus facebook page that we have been working on re-purposing a dresser into a bookshelf.  I’m happy to say it’s finally done!  It actually was much easier than I thought and cost way less than having to buy a new bookshelf.  Plus this was a sturdy dresser, so we’ve got a nice sturdy bookshelf now, unlike the stuff sold in the stores.

We started with a 5 drawer dresser that was given to us 10 years ago when we got married.  It was used then and no longer matches our decor.  First we removed all the drawers.  Here’s a before photo with the dresser turned on it’s side.

Next we removed all the drawer hardware and railings except for the bottom and 2 of the drawer supports.

We installed plywood shelves and braces to support them.

Next came the fun part!  Sanding, priming, and then finally painting the dresser black.  Lastly we added a new drawer pull and pull the bottom drawer back in.

Lastly, we moved it into our bedroom, and filled it up!  I’m loving how it turned out!  It really was a pretty cheap project.  Just cost a quart of paint, plywood (that we have some leftover to use on another project), shelf braces, and a drawer pull!  Cheaper than new plus it’s exactly what I wanted, not having to settle for someone else’s idea.

Next project?  Making a headboard for our bed!

Catch up with Mommy Octopus

Follow Me on Pinterest

Subscribe

Enter your email address:

Delivered by FeedBurner

Categories

Timberdoodle"

Grab My Button


Schoolhouse Review Crew

Privacy Policy | Disclosure

Copyright © 2023 · Modern Blogger Pro On Genesis Framework · WordPress · Log in

We are using cookies to give you the best experience on our website.

You can find out more about which cookies we are using or switch them off in settings.

Mommy Octopus
Powered by  GDPR Cookie Compliance
Privacy Overview

This website uses cookies so that we can provide you with the best user experience possible. Cookie information is stored in your browser and performs functions such as recognising you when you return to our website and helping our team to understand which sections of the website you find most interesting and useful.

Strictly Necessary Cookies

Strictly Necessary Cookie should be enabled at all times so that we can save your preferences for cookie settings.

If you disable this cookie, we will not be able to save your preferences. This means that every time you visit this website you will need to enable or disable cookies again.