I had posted on the Mommy Octopus facebook page that we have been working on re-purposing a dresser into a bookshelf. I’m happy to say it’s finally done! It actually was much easier than I thought and cost way less than having to buy a new bookshelf. Plus this was a sturdy dresser, so we’ve got a nice sturdy bookshelf now, unlike the stuff sold in the stores.
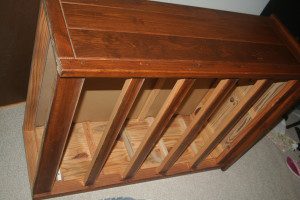
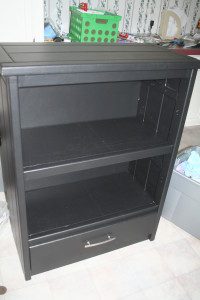
We started with a 5 drawer dresser that was given to us 10 years ago when we got married. It was used then and no longer matches our decor. First we removed all the drawers. Here’s a before photo with the dresser turned on it’s side.
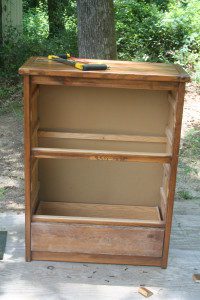
Next we removed all the drawer hardware and railings except for the bottom and 2 of the drawer supports.
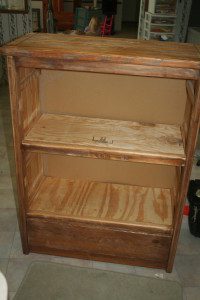
We installed plywood shelves and braces to support them.
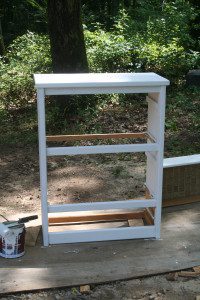
Next came the fun part! Sanding, priming, and then finally painting the dresser black. Lastly we added a new drawer pull and pull the bottom drawer back in.
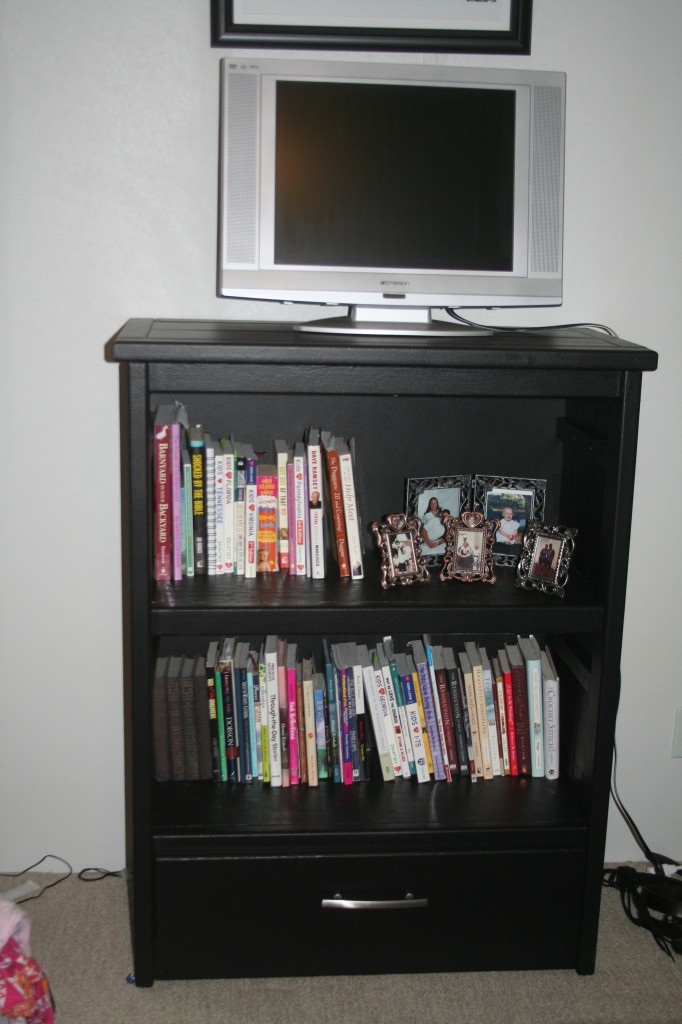
Lastly, we moved it into our bedroom, and filled it up! I’m loving how it turned out! It really was a pretty cheap project. Just cost a quart of paint, plywood (that we have some leftover to use on another project), shelf braces, and a drawer pull! Cheaper than new plus it’s exactly what I wanted, not having to settle for someone else’s idea.
Next project? Making a headboard for our bed!
Britt says
I love it!
Tiffany says
I like g of doing this to a dresser I found how big is the space o. The shelf. I’ve got a small kitchen appliance that is about 15 inches tall
Terri says
Beautiful! This came out so nice! Great job and thank you for sharing with us.I love that you showed pictures as you went along. So helpful. Now, All I need is to find a used dresser.