Mommy Octopus

We can all use a few more hands

  • Giveaways
  • Travel
  • Recipes
  • Disney World Tips
  • Homeschool
  • Law Enforcement Support
  • PR Inquiries
  • Contact Me
  • About Me

Tasty Tuesday: Make An Apple Ring Cake!

September 28, 2011 By MommyOctopus 2 Comments
By clicking my links, I may earn a small commission to support this blog. Please see our Disclosure Policy.

Yes, I know it’s not really Tuesday.  However, I was really sick on Tuesday and whenever I’m sick, it seems like that day is just erased from memory.  So for my sake, let’s pretend it’s Tuesday.  For Tasty Tuesday this week, we’re going to make an Apple Ring Cake!  We went to the apple orchard this past weekend and had a blast picking fresh apples from the trees.

Some apples were too high up so we had to use double the effort….

Even the baby thought they were great to gnaw on….

Nevertheless, we left there with an enormous bag of apples.  It was fun to pick, but now what should I do with all of these apples?

I dug up my recipe books and nothing sounded perfect.  Then I remembered a recipe that a friend of mine had sent me a while back.  Of course, I had to do my own tweaking to the recipe, so here goes:

Ingredients:

  • 5 Apples
  • 3 Sticks Butter
  • Sugar
  • Vanilla
  • 2 Large Eggs
  • 2/3 Cup Sour Cream
  • 1 1/2 cup all purpose flour
  • 1 1/2 teaspoon baking powder
  • 1 teaspoon salt
  • 2/3 teaspoon cinnamon

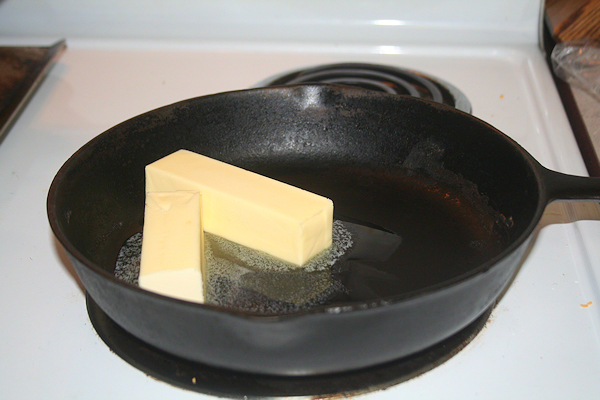
Preheat your oven to 375 degrees.  Melt 2 sticks of butter in a 9 inch cast iron skillet over medium heat.

While it’s melting, whip out your apple corer/slicer/peeler.  Core, slice, and peel your apples.

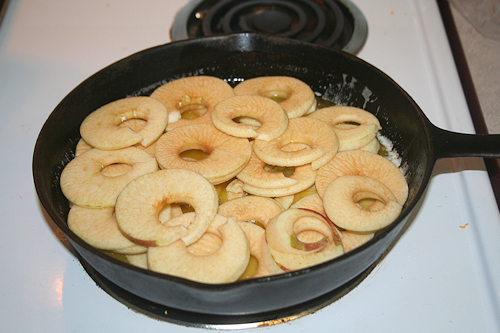
Once the butter is melted, stir in 3/4 cup sugar to the pan and stir.  Place rings of 4 apples into the sugary butter, overlaying as necessary.  Save 1 peeled/cored/sliced apple for later.

Let the apple rings cook while you make the cake.

Mix 1 stick of softened butter, 2/3 cup sugar, 1 1/2 teaspoon vanilla together with a hand mixer.  Add in the 2 eggs and sour cream.  When it’s well mixed, add in your flour, baking powder, salt, and cinnamon.  Mix well until dough is formed.  Chop the remaining apple into small pieces and add to the mixture.

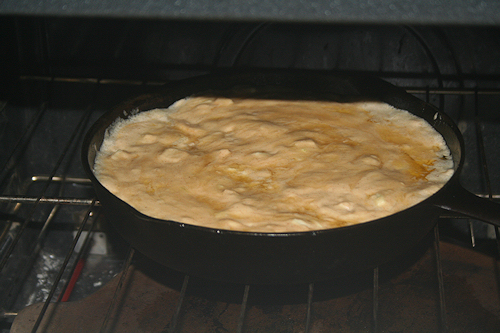
When your apples are nice and tender in the pan, remove from heat and gently cover them with your dough mixture.  Place your cast iron skillet right into the oven.

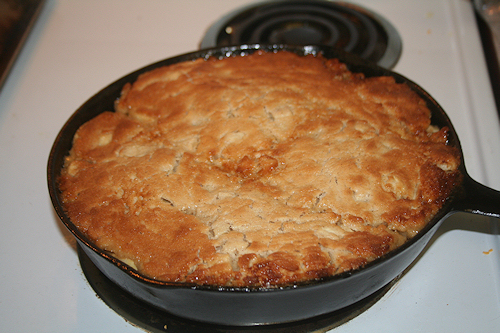
Bake for 25 minutes or until cake is golden brown.

Allow the cake to cool for 5-10 minutes and then flip it over onto a sheet pan or other solid dish.  Best served with homemade ice cream 🙂

Sorry for the bad pic – I messed it up a little when I flipped it.  This cake was so good it didn’t even last 24 hours in our house.  Hubby is already demanding another!  The kids loved it and I can’t wait to make it again.


Saving For Christmas, One Survey At A Time!

September 14, 2011 By MommyOctopus Leave a Comment
By clicking my links, I may earn a small commission to support this blog. Please see our Disclosure Policy.

Last year, we paid for our entire Christmas by using money earned online from survey sites.  I’m sure you’ve all seen the different ads where you can earn money by doing online surveys.  I was always very skeptical, but on a recommendation from a good friend, I got started.

Using surveys, you won’t “get rich quick”, but it will be a nice extra that builds slowly over time.  I do the surveys that I’m sent and then slowly, bit by bit, it ads up over the year into something that I can cash out for a great Christmas present.  Maybe of the survey sites allow you to redeem for Amazon giftcards, Paypal, Check, or other various giftcards.  I’m going to highlight a few of my favorite survey sites below.

Already, I have over $100 in our Christmas fund from just Opinion Outpost. Opinion Outpost pays cash for surveys that you complete.  The money adds up quickly and painlessly!  I can usually do the surveys during naptime or in the evening after I’ve put the kids to bed.  Some of the surveys even ask for my kids input!  There are many as well that offer in home product testing and that is always a blast!  We’ve tested things from baby wipes and diapers, to food products, toothpaste, dog treats, and more!

Here are some survey sites that I recommend joining.  You don’t have to join all of them, but the more you join, the more surveys you receive and the more cash adds up!

Opinion Outpost

SayNation

My Surveys

Surveys.com 

Valued Opinions

My View

Mindfield

Survey Savvy

I am also huge on Swagbucks. Swagbucks is a fantastic program. You earn swagbucks from searches that you do using Swagbucks as a search engine. I’ve earned countless Amazon giftcards, iTunes Giftcards, Starbucks Giftcards, and more, with little effort! Then, I wait until Amazon has something fantastic on sale. You can earn more swagbucks, too, by referring your friends. When you refer someone, each swagbuck that they earn, you also earn, so your points will accumulate very fast!

When you save all year on your survey sites, buy giftcards with your swagbucks, and wait for great sales, you’ll find yourself being able to afford a lot more than you thought was possible. There’s still several months, so start today and see if you can afford a great Christmas without paying anything!

Tasty Tuesday: Freezer Biscuits!

September 13, 2011 By MommyOctopus 2 Comments
By clicking my links, I may earn a small commission to support this blog. Please see our Disclosure Policy.

I love making homemade biscuits, however with as busy as I am, I don’t have time to make fresh biscuits every morning.  To solve this problem, I’ll make a big batch of biscuits, freeze them, and then pull out what I need.  It helps prevent waste and overeating as well by just pulling out the number I need.  Here’s how to make your own freezer biscuits:

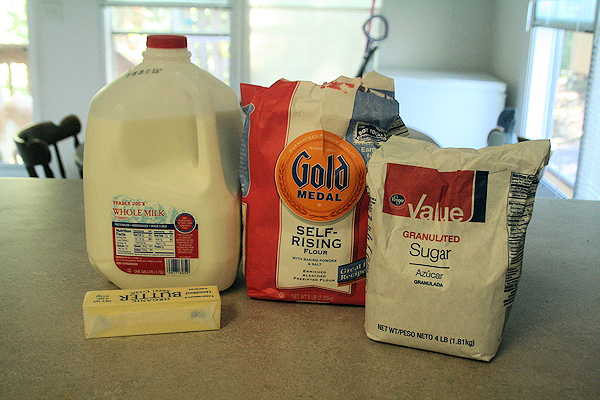
First, gather the following ingredients:

  • 5 cups self rising flour
  • 3 teaspoons sugar
  • 1 cup butter or shortening
  • 1 3/4 cup buttermilk or milk

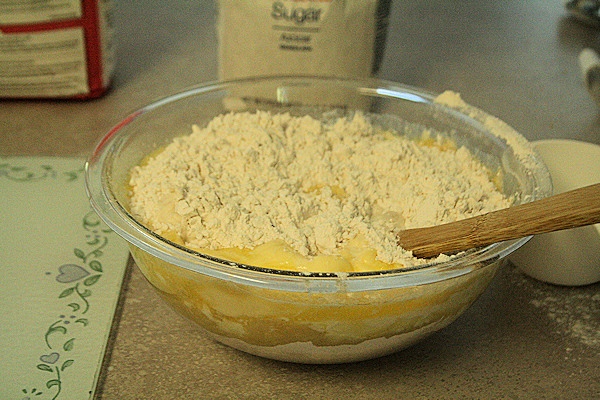
Add everything into the bowl and stir well until the dough has formed.  If it seems too sticky, add in a little extra flour as needed.

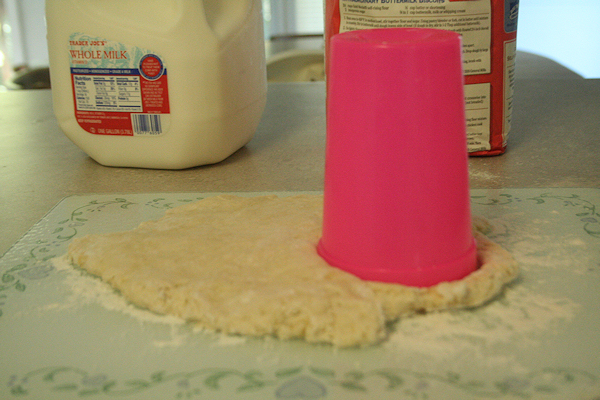
Roll the dough out to about 1/2 inch and use a cup or a cookie cutter to form the biscuits.

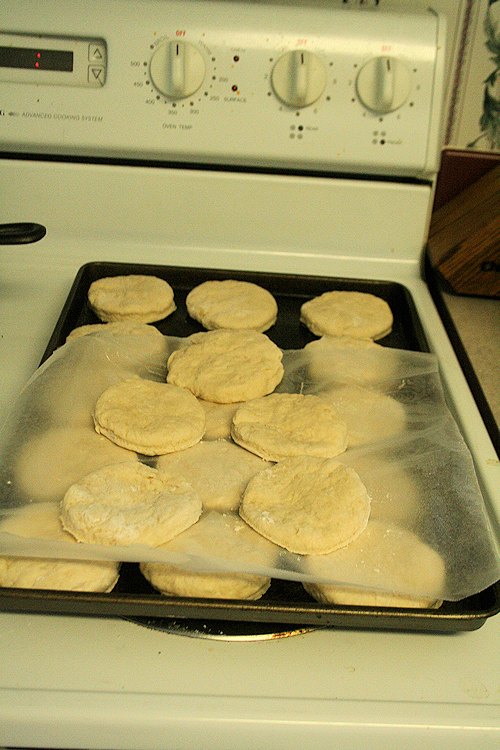
Place the biscuits on a pan.  It’s okay to have them super close together since they will not be rising.  If you have more than one layer, be sure and place wax paper in between the layers so they do not stick together.

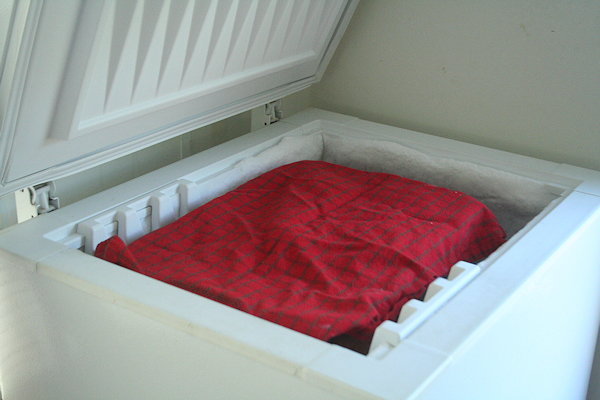
Immediately put the biscuits into the freezer, making sure that they stay flat.

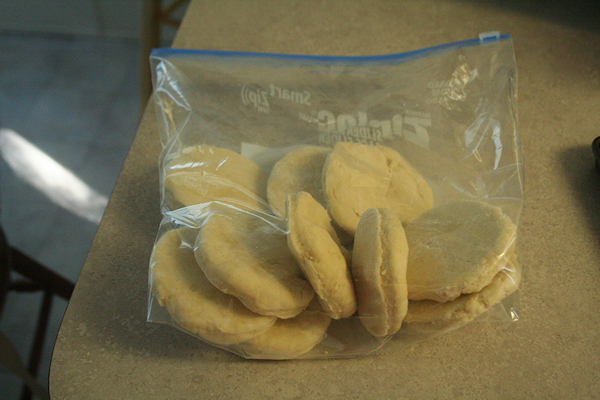
After a few hours when they are frozen, remove them from the pan and place in a freezer safe bag and return the bag of biscuits to the freezer.

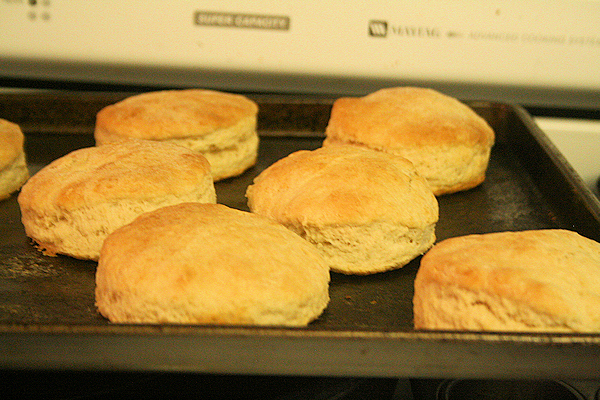
Pull biscuits from bag as needed and bake at 425 for 12-15 minutes or until golden brown on top.  Yum!  Give it a try and see what you think!

Tasty Tuesday: Let’s Make A Smoothie!

September 6, 2011 By MommyOctopus 3 Comments
By clicking my links, I may earn a small commission to support this blog. Please see our Disclosure Policy.

Although it’s hard to imagine wanting a smoothie on this cool, crisp day here in the south, it makes for a quick, easy, and healthy snack!  Normally I’d be loving 66 degree weather but after months of 90 degree weather, I may have to go grab a winter coat! 🙂

On to smoothie making!

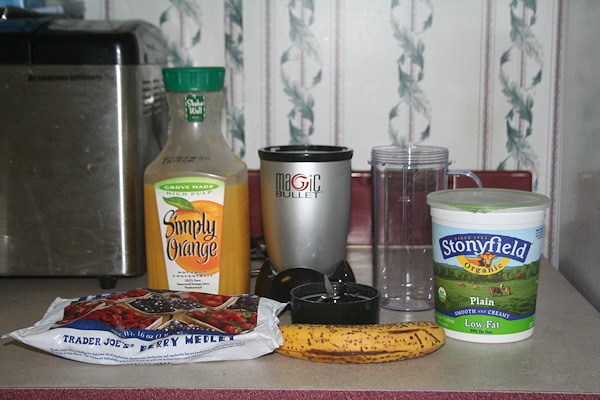
First gather up your ingredients.  I like to use Simply Orange Juice, Trader Joe’s Berry Medley, whatever yogurt we have on hand, and also a banana.  Don’t forget that there is a $1 off Simply Orange Juice coupon available!

Throw your ingredients in your blender, or in my case, I use the Magic Bullet.  I got this a couple months ago from some of my facebook fans recommendation.  I have been really pleased!  I purchased the Magic Bullet MBR-1701 17-Piece Express Mixing Set and we use it all the time!

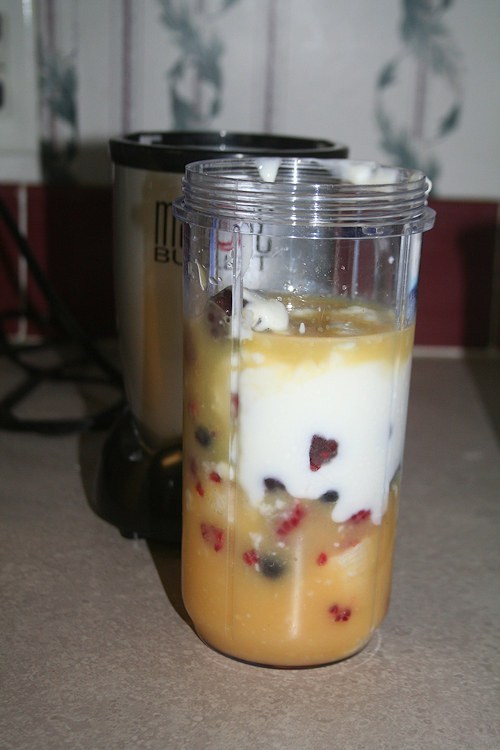
Throw your ingredients in.  I have never really measured, but I use a half of a banana, a bit of the frozen fruit, couple scoops of yogurt, and then fill in the gaps with orange juice.  Make sure they you leave room at the top for everything to move around and it mixes.  Blend away and enjoy!

What do you like to put in your smoothies?

Tasty Tuesday: Make Your Own Granola!

August 30, 2011 By MommyOctopus Leave a Comment
By clicking my links, I may earn a small commission to support this blog. Please see our Disclosure Policy.

This past week, I’ve been struggling to find things that I can give my son.  Most boxes cereals have soy as an ingredient.  My son LOVES cereal and would eat it all day long if I’d let him.  After a very frustrating trip to the grocery store, and purchasing a tiny $4.99 box of granola, I decided to take matters in my own hands.  I thought it would be hard to make granola but it was surprisingly very easy!  I even had all the ingredients in my pantry!  Let’s make some granola!

Ingredients:

  • 4 Cups Rolled Oats
  • 3/4 cup pecans
  • 1/4 cup packed brown sugar
  • 1/4 cup canola oil
  • 1/4 cup honey
  • 1 teaspoon ground cinnamon
  • 1 1/2 teaspoon vanilla extract
  • 1 cup raisins

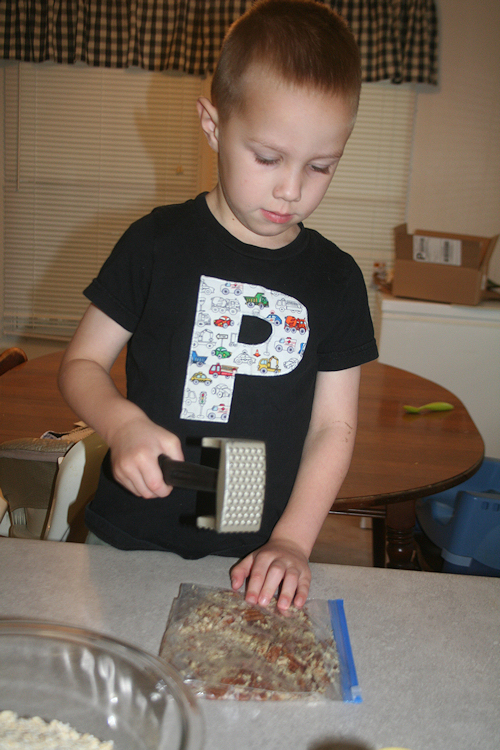
First things first, grab your strongest kid and put them to work smashing the pecans!  I like to put the pecans in a baggie and then give my son a meat tenderizer to hammer them out.

While your kid is happily pounding away, bring the oil, honey, cinnamon, and brown sugar to a boil in a saucepan, stirring to make sure all ingredients are well dissolved and blended.  Remove from heat and add the vanilla extract.

Combine the oats and pecans in a large bowl and pour the brown sugar mixture over the oats and pecans.  Stir well to coat.

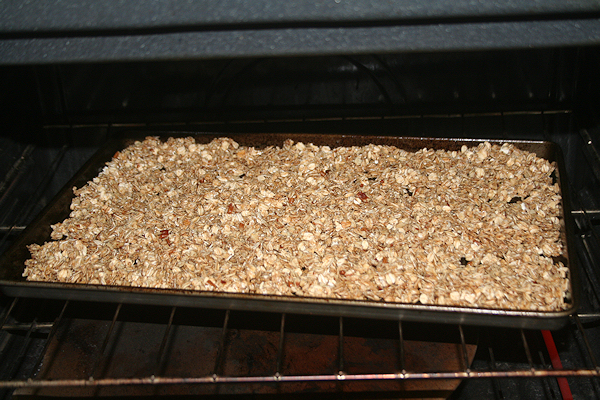
Pour out the oats on a pan in a single layer and cook for about 20 minutes at 350 degrees.  Stir after 10 minutes.

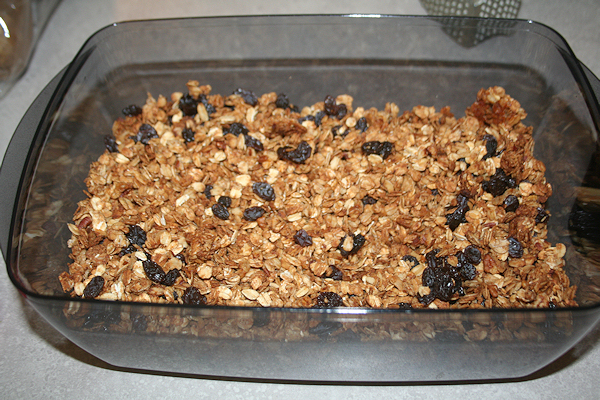
Cool completely before adding the raisins.  Store in an airtight container.

Have you made granola before?  What’s your favorite recipe?

Tasty Tuesday: Make Your Own Sandwich Rolls

August 23, 2011 By MommyOctopus Leave a Comment
By clicking my links, I may earn a small commission to support this blog. Please see our Disclosure Policy.

Welcome to the new Mommy Octopus weekly feature: Tasty Tuesday!  I will be showing all of you different recipes that I make with my kids.  First up this week is making your own sandwich rolls from scratch.  I promise that these are easy to make, super yummy, and much better than anything you can buy in the store.  And SOOO soft in the middle!

I like to keep things simple and less messy, so I use my bread machine on the dough cycle to make the dough.  If you’re looking for a good bread machine, I highly recommend mine, the Breadman TR2500BC Ultimate Plus 2-Pound Stainless-Steel Convection Breadmaker.

Let’s gather the ingredients that we need:

  • 1 1/4 cup warm milk
  • 1 egg, beaten
  • 2 tablespoons softened butter
  • 1/4 cup honey
  • 3/4 teaspoon salt
  • 2 3/4 cup all purpose flour
  • 1 cup whole wheat flour
  • 1 1/4 teaspoon yeast

Put the ingredients in your bread machine in order and then set for the dough cycle.

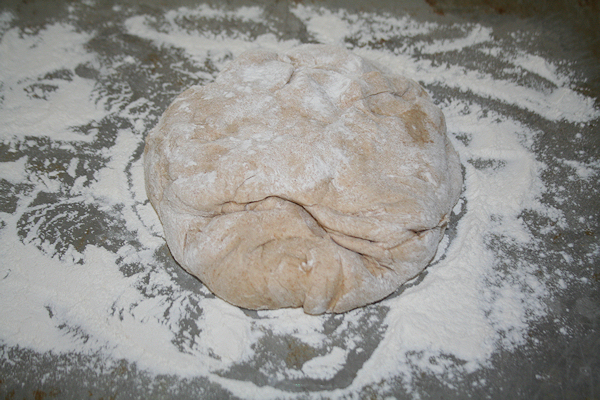
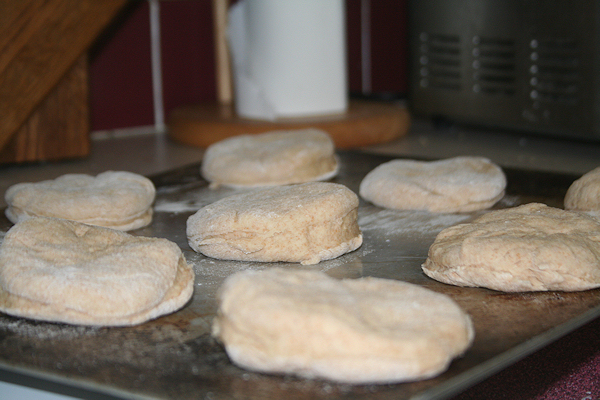
When the dough is ready, place it on a lightly floured surface and then roll it out to about 3/4 inch thick.  (My kids got a little carried away with the flour!)

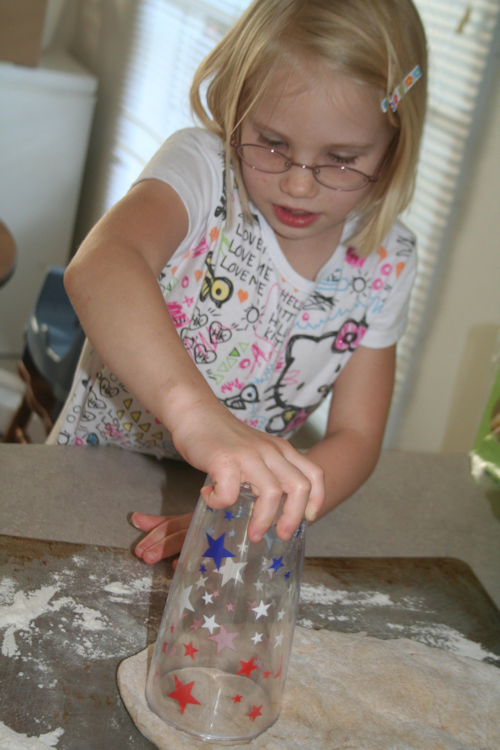
Use a cookie cutter, or in our case, a large cup to cut your rolls.  It’s a great time to grab those kiddos with clean hands to come help.

Lay the rolls out on a greased cookie sheet, allowing room in between for the rolls to rise.

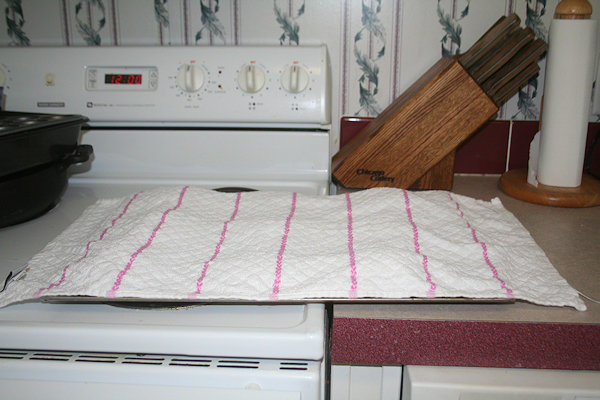
Cover and let rise for about an hour until they have doubled in size.

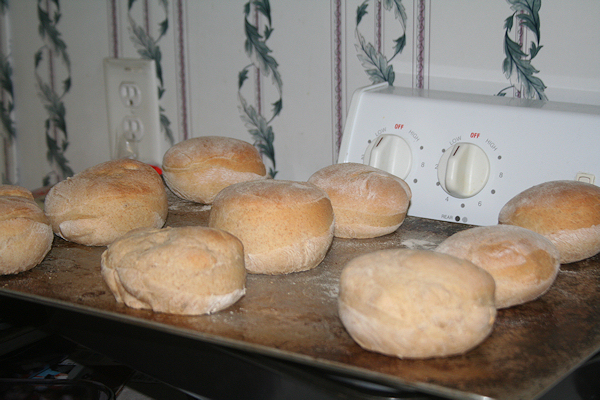
Bake at 350 for about 12 minutes or until a nice light brown.

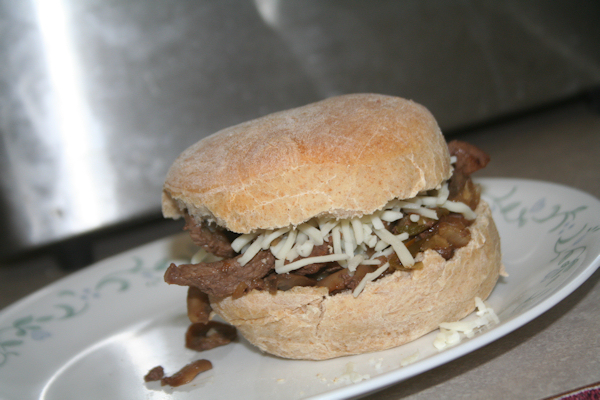
Then ENJOY!  We used a few of them for Cheesesteak sandwiches yesterday.  So delish!

There you have it!  Give it a try and let me know what you think!

Make Your Own Popsicles!

June 25, 2011 By MommyOctopus Leave a Comment
By clicking my links, I may earn a small commission to support this blog. Please see our Disclosure Policy.

One thing that my kiddos enjoy during these hot summer months is a good popsicle.  Unfortunately, not all popsicles are good for them and the ones that are, aren’t very friendly on the wallet.  I’ve gone to making our own popsicles using an ice pop maker.  You can find the Back to Basics Lickety Sip Ice Pop Maker for just $3.99 on Amazon (ships free with Amazon prime – you can get a free Amazon Prime membership through Amazon Mom, which is free to join.).  Amazon has tons of other ice pop molds as well. Good investment that can be used over and over again and the kids can pick which flavor they want to make.  All you do is just pour in the juice and freeze.  I’ve even put smoothie ingredients in them before (already blended of course) and it makes a wonderful frozen fruit bar.

What creations have you made using ice pop molds?

Hi! Eliza Here!

June 22, 2011 By MommyOctopus 3 Comments
By clicking my links, I may earn a small commission to support this blog. Please see our Disclosure Policy.

Hi there!  It’s me, Eliza!  Just wanted to stop in and say thank you all for being great fans of my mommy’s page.  I’ve taken over the computer this morning, so please excuse my mom’s inability to post much today.  I’m trying to keep her on her toes by crawling way before I should.  Can you believe I’m just 4 1/2 months?  No stopping me now!  Hope ya’ll have a wonderful day!

Recipe: Mom’s Lasagna

June 5, 2011 By MommyOctopus Leave a Comment
By clicking my links, I may earn a small commission to support this blog. Please see our Disclosure Policy.

One of the first things I learned how to make was lasagna.  It’s so simple and easy, anyone can make it, including my 7 year old 🙂

Ingredients needed:

  • 4 jars of spaghetti sauce
  • 8 cups of mozzerella cheese
  • 1 box of lasagna noodles
  • 1 carton of cottage cheese

First things, first.  Boil noodles according to package instructions, drain, rinse with cool water.  They may need time to cool before you can touch them.

1.Spray your pan

2. Spread a light layer of sauce.

3. Layer noodles on top of sauce and add a spoon full of sauce on each noodle

4. Spread the sauce over each noodle.

5.  Add a spoon full of cottage cheese on each noodle and spread out just like the sauce.

6. Add 2 cups of cheese spread out evenly.

7. Repeat all steps 3-4 times, or as pan allows room, starting with the sauce layer.

8. Finish with a layer of sauce on top.

Bake at 350 until the middle is bubbly and enjoy!  

Fun and Free (Or Almost Free) Things For Hot Or Rainy Summer Days

May 30, 2011 By MommyOctopus Leave a Comment
By clicking my links, I may earn a small commission to support this blog. Please see our Disclosure Policy.

Another great article sent in by reader, Edith.  Thanks so much Edith!  Do you have an article you’d like to submit?  Just use the contact form at the top and send it in!

We all face those endless summer days when it is just too hot outside to play, or we’re hit by a summer downpour and the kids get antsy.  You’ve played every board game and watched every DVD you own and need OUT of the house!  Here are some budget ideas to help get you through.

Chuck-E-Cheese

Chuck-E-Cheese, it’s not just for parties!  Stop by and let the kids play for free.  They can fill out rewards calendars found here and get free tokens to play games, or they can just climb around on the indoor play areas. You can also get some good coupons on their site, and especially if you sign up for emails, for food and token combos.  Great if you want to stop by for lunch or dinner and let the kids go crazy.  We visit CEC often and they have recently changed their pizza recipe and it is MUCH better! A great spot for hot and/or rainy days.

Public Libraries

Check out your local Library for Story time and other kid friendly events. Georgia public libraries also allow you to check out a voucher for free admission to Zoo Atlanta for your family (check your local library for details), and Georgia park passes to save you on entrance fees!  Also a great place to pick up a DVD for a rainy day along with your summer reading books!

Bounce House Centers

Places like Pump it Up and Jungle Jumpers are open during the summer for kids to come in and bounce!  Bring a book and let the kids bounce until they can bounce no more!  Check their webpages for times and fees.

Summer Movies

Check your local cinema for summer movie specials like free or reduced admission to special showings of kid’s films.  Also check out your local $1 (or $2) cinemas for kid friendly features. When it’s hot outside it’s nice and cool in the theaters!

Bowling and Skating

Check out your local bowling alley to see if they have any summer specials, ours is offering free bowling for kids!  Skating is another fun way to wear the kids out and stay cool and dry.  Our local rink offers deals such as $1 skates times and pizza nights!

Shopping Malls

Some malls have great play areas for little ones.  These can get crowded, so try and hit them early in the day before the crowds get there!

IKEA

If you happen to live close to and IKEA store you can stop by and drop the kids (potty trained only) off in the kids club area while you shop, hit the food court or just browse without little ones clinging to you!

Do you have any other great spots to cool off or stay dry this summer?  Please share them!

  • « Previous Page
  • 1
  • …
  • 219
  • 220
  • 221
  • 222
  • 223
  • 224
  • Next Page »

Catch up with Mommy Octopus

Follow Me on Pinterest

Subscribe

Enter your email address:

Delivered by FeedBurner

Categories

Grab My Button


Privacy Policy | Disclosure

Copyright © 2026 · Modern Blogger Pro On Genesis Framework · WordPress · Log in

We are using cookies to give you the best experience on our website.

You can find out more about which cookies we are using or switch them off in .

Mommy Octopus
Powered by  GDPR Cookie Compliance
Privacy Overview

This website uses cookies so that we can provide you with the best user experience possible. Cookie information is stored in your browser and performs functions such as recognising you when you return to our website and helping our team to understand which sections of the website you find most interesting and useful.

Strictly Necessary Cookies

Strictly Necessary Cookie should be enabled at all times so that we can save your preferences for cookie settings.